
A few years ago, we did a budget remodel of our gross, outdated kitchen. You can read about it here in detail, but here's a before-and-after shot to provide a visual summary: During our…
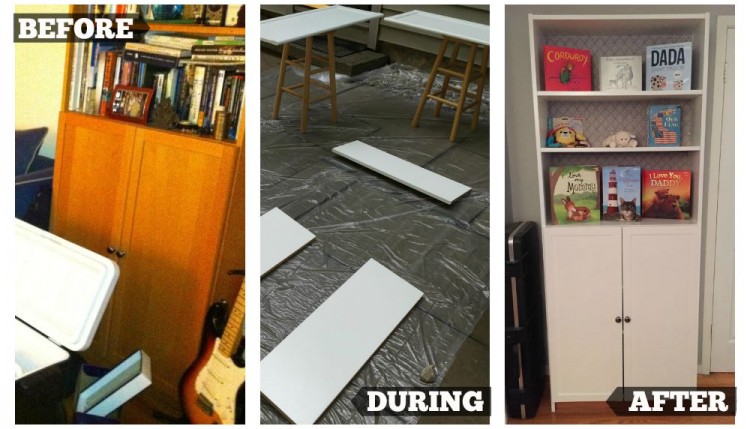
I guess this is growing up: Converting an old IKEA bookcase to nursery storage
Note: This post comes to us from guest author and friend Matt Mags.
Like so many of us coming out of college in the late ’90s, when jobs were still somewhat available and I started paying off my loans, I was able to afford a new bedroom set from Ikea. It was a great place to update the furniture that I’d had since high school. After I moved out of my parent’s house, I invested more money in Ikea products because, naturally, I needed the furniture in my new apartment to match. I mean, that’s what adults do, right?
Surprisingly, most of that stuff last a good 10+ years. The dresser was the first to go – the drawer bottoms fell out repeatedly and the track system broke, spilling ball bearings all over the place. But the bed, nightstand, bookcase, TV stand, and CD tower held strong.
However, when my wife and I bought our first home, some of these items would not make the cut. Only the TV stand and bookcase were brought over, simply to fill the second bedroom in our new home.
Now, change is coming and we’re converting our second bedroom into a nursery. Time to drop some coin on baby furniture, right? Well, not necessarily.
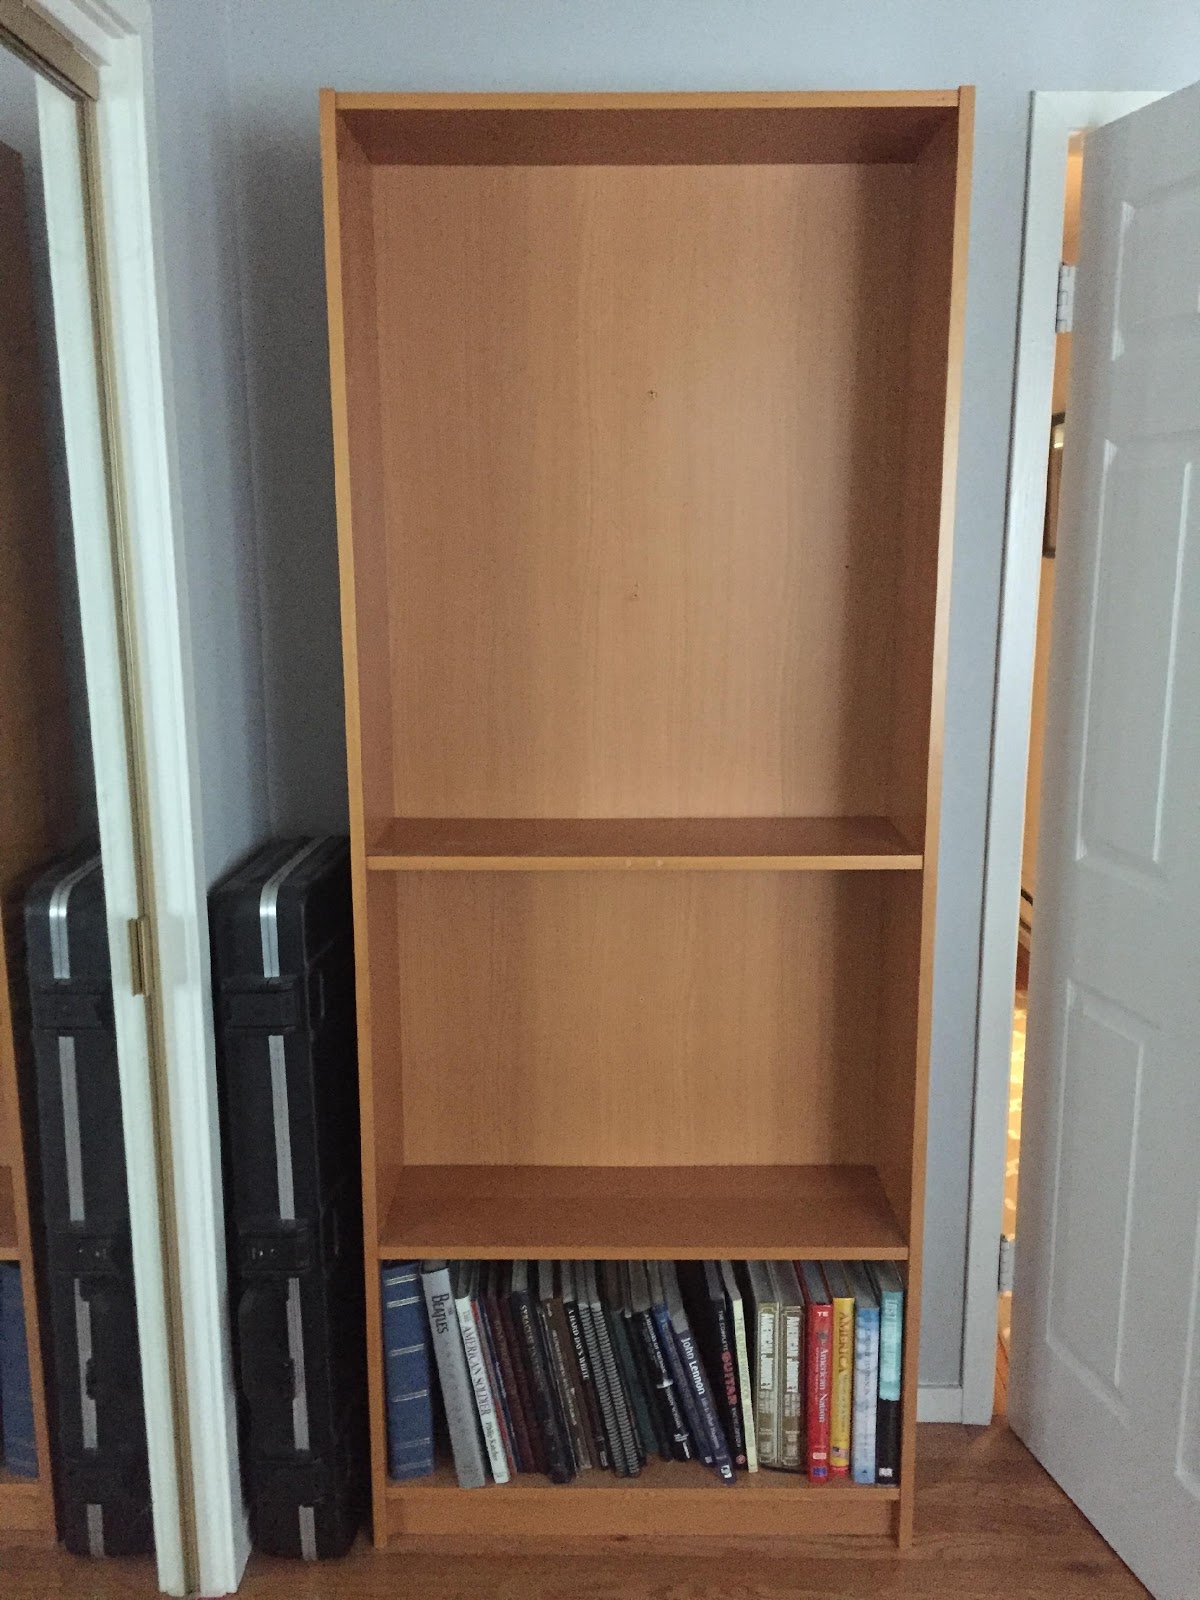
My wife came up with the idea of converting the Ikea bookcase into some sort of storage for baby stuff.
Clearly, it doesn’t have much of a nursery look, so I decided I would repaint it white.
Repainting Ikea furniture can be a little tricky (and time consuming), mainly because of the materials: This bookcase, for instance, is made of particleboard, paper, birch veneer, clear acrylic lacquer, and a fiberboard back.
Veneer isn’t the greatest surface to paint on. In all my research, I read about people complaining that simply painting the surface usually leads to severe chipping. And while I wasn’t looking to produce a piece worthy of museum display, I also didn’t want it to look like something I salvaged from my old frat house in college.
Basically, repainting Ikea furniture like this is an extensive process of sanding and painting. Multiple times. Aside from the normal paint supplies you might get (latex gloves, tarp, disposable paint tray, etc.), I also used:
- Zinsser Bulls Eye primer
- Glidden Duo semi-gloss paint (a paint/primer in one for extra coverage)
- Miniwax polycrylic water-based clear coat
- an angled paintbrush(for corners or narrow spaces)
- Purdys brush (for clear coat)
- Linzer paint rollers (3/8” for BEST coverage)
Step 1: Disassemble
Ikea furniture is pretty simple to reassemble if you make a mental note of where everything goes. Most pieces only fit in certain places – keep all your hardware in a plastic Ziploc bag for later.
I left the basic structure of the bookcase intact. Aside from the center shelf, I removed the others and the doors.
Step 2: Sand
Try to use an electric handheld sander if you can. The one drawback to this project is that everything has two sides. If you’re short on workspace like I was, it’s going to take time. You’ll be sanding in between each coat. I used either an 80 or 120 grit sandpaper. The purpose is to rough up that veneer surface so the paint has something to stick to.
Be sure to sand each side that’s going to be painted and use a tack cloth to wipe down.
Step 3: Prime
The Zinsser primer is a great product because of its fast drying time (about an hour). I was working in two spaces: my back patio and in the nursery itself. Regardless of being inside or out, the primer coats dried quickly.
I found it easy to start with the angled brush to hit the corners first and then move on to the roller. Here’s a tip for using a roller: Forget what you see on home improvement shows where people start rolling in the center of something and fan out in these crazy diagonal lines. Paint in straight vertical lines and work your way across the surface.
Just like Mr. Miyagi taught us. “UUUUUUP! DOOOOOWN!”
Once the primer is dry, sand and hit it again with another coat for best coverage.
Step 4: Sand. Again.
You’ll want to sand each time before adding another layer of paint. This will ensure that the paint has a rough surface to stick to.
Step 5: Paint
Disposable paint rollers are cheap, so buy a bunch. It’s a lot easier to throw them away after each use than trying to clean everything in your sink. I did the same thing here as with the primer – two coats for the best coverage (remember to sand in between coats).
Step 6: Clear coat
A clear coat will help to protect the paint from chipping away. The water-based version dries pretty quickly and you should only need one coat. Same as before: Sand first, wipe clean and apply using the Purdys brush. The better the brush, the fewer the paint strokes.
BE SURE TO READ THE INSTRUCTIONS on the clear coat. It tells you to stir as opposed to shake the can – shaking produces bubbles that will harden on the surface.
STIRRED, not shaken.

Step 7: Reassemble
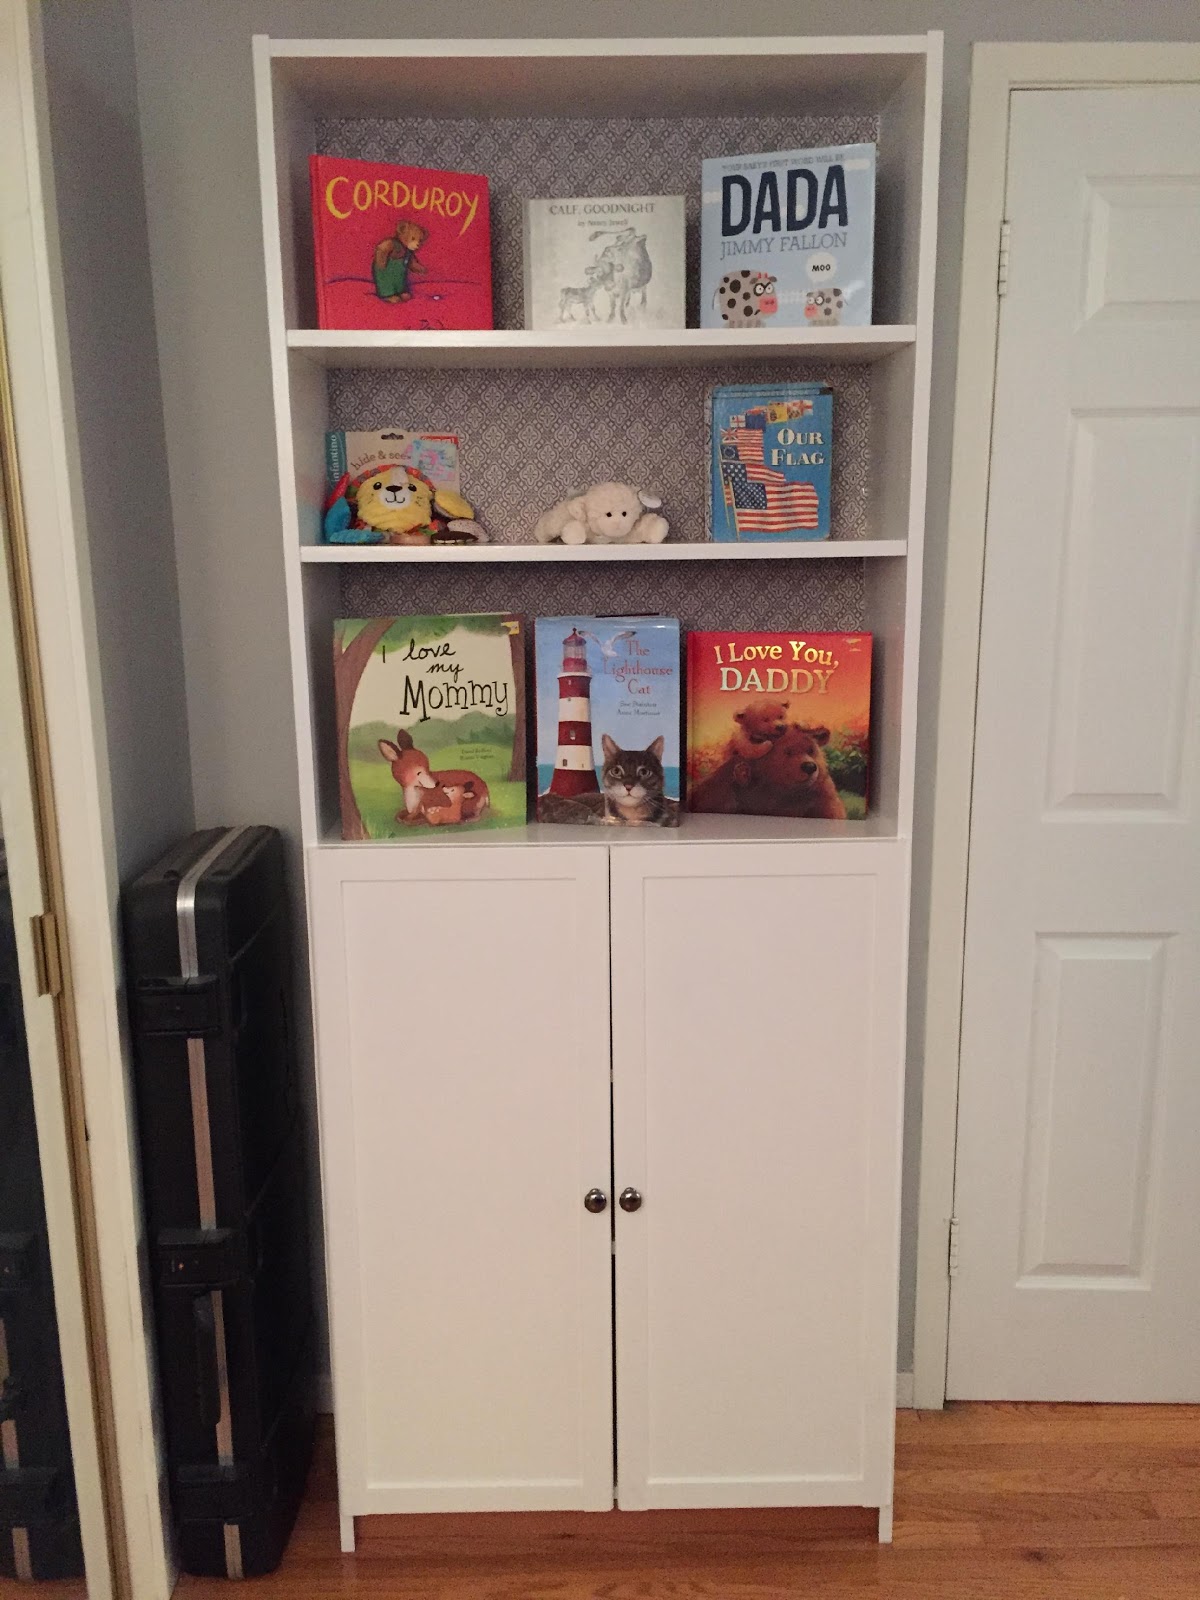
I didn’t paint the fiberboard backing, because it was a little beat up. Instead I bought a cheap set of sheets from Walmart and wrapped it, securing it with staples. (Gives the backdrop a cute baby vibe, don’t you think?) Then I slid the backing right into place.
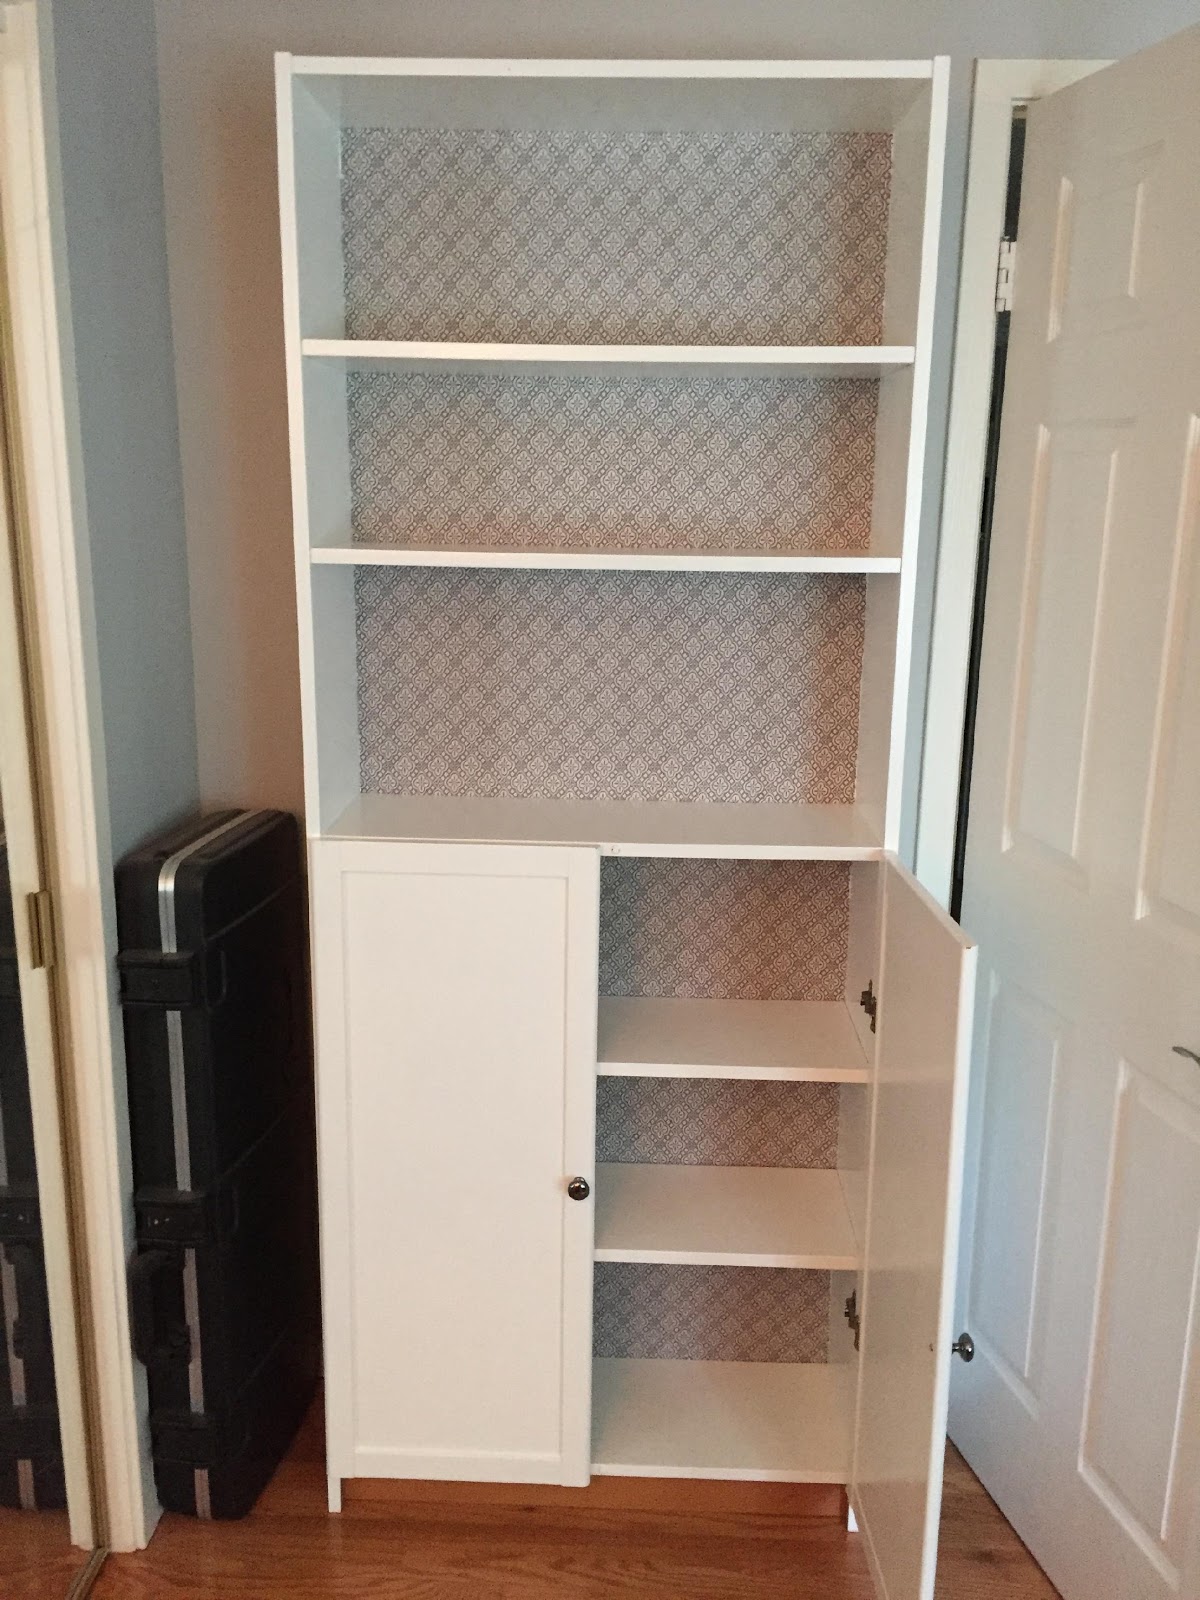
Now you’re glad you kept all those hardware pieces together, right? Throw those shelves and doors back on to finish it off!
Got any IKEA hacks of your own you want to share? Tell us about them in the comments!
Related posts:
Jon Gorey • August 28, 2015