
Weekends are the perfect time (often the only time) to tackle the DIY and home improvement projects you've been planning. Just be careful not to bite off more than you…
One-hour wonders: DIY tile coasters
Homemade coasters are really simple to make. And when customized with a thoughtful choice of maps, photos, sheet music, artwork, or pages from a favorite book, these DIY tile coasters can make a perfectly elegant gift, too.
While you’ll want to give a bit of thought to the media you’re putting on the coasters and the overall theme of the set, this quick DIY project should only take about an hour, once you’ve got the materials gathered in front of you.
How to make DIY map coasters in one hour
Materials:
- 4-6 square tiles
- Old atlas, maps, book, photos, artwork, etc.
- Measuring tape and scissors
- Mod Podge
- Plastic straight edge and damp cloth
- Paint brush or foam brush
- Acrylic sealer or polyurethane (optional, but recommended)
- Felt furniture pads (or cork backing, if you want to get fancy)
Step 1: Trim your maps or artwork to size.
Measure the artwork or maps you’re using against one of the tiles, and cut out a square to fit using scissors or an X-ACTO knife. Basic ceramic tiles are generally about 4 inches square, but they can vary a bit, so it’s worth “dry fitting” your map or other media against the actual tile to be sure.
You can size your artwork to leave a thick or thin border around the edges, depending on the look you want to achieve. Or you can even wrap your map down along the side edges (although it takes a bit more work).
For my homemade tile coasters, I cut out squares from old road atlases of some of the places my wife and I have lived together over the years, leaving about a 1/8″ white border as a frame. I cut the maps a little large to start, just to be safe, and then trimmed the edges until I liked how they looked.
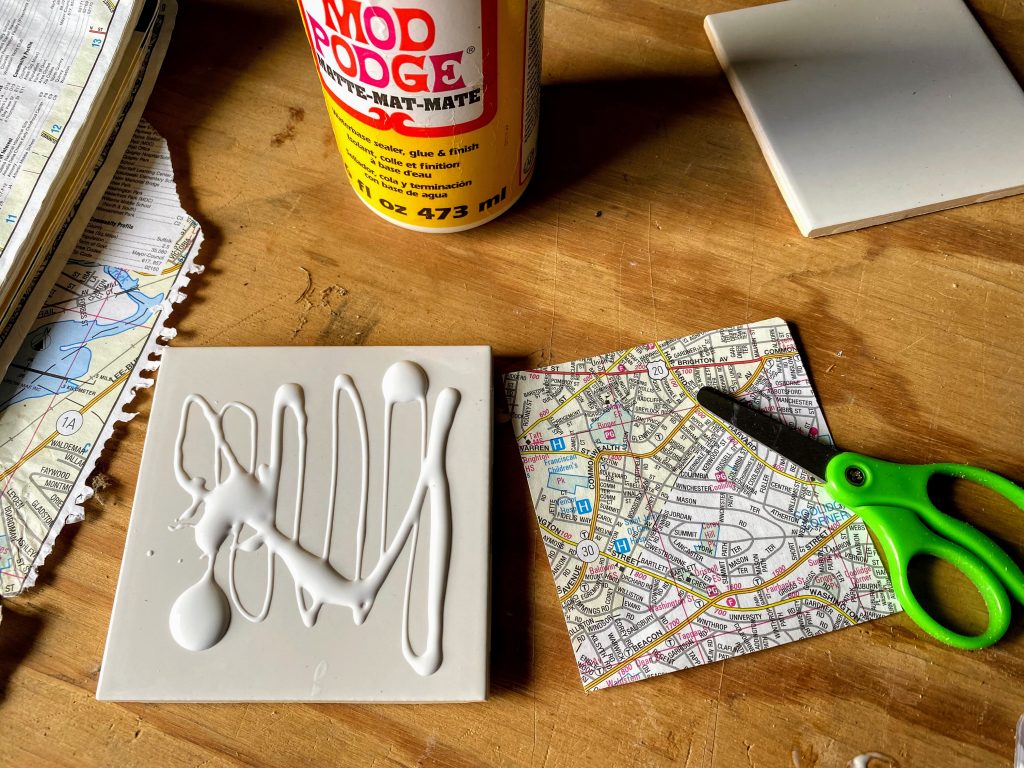
Step 2: Adhere with Mod Podge.
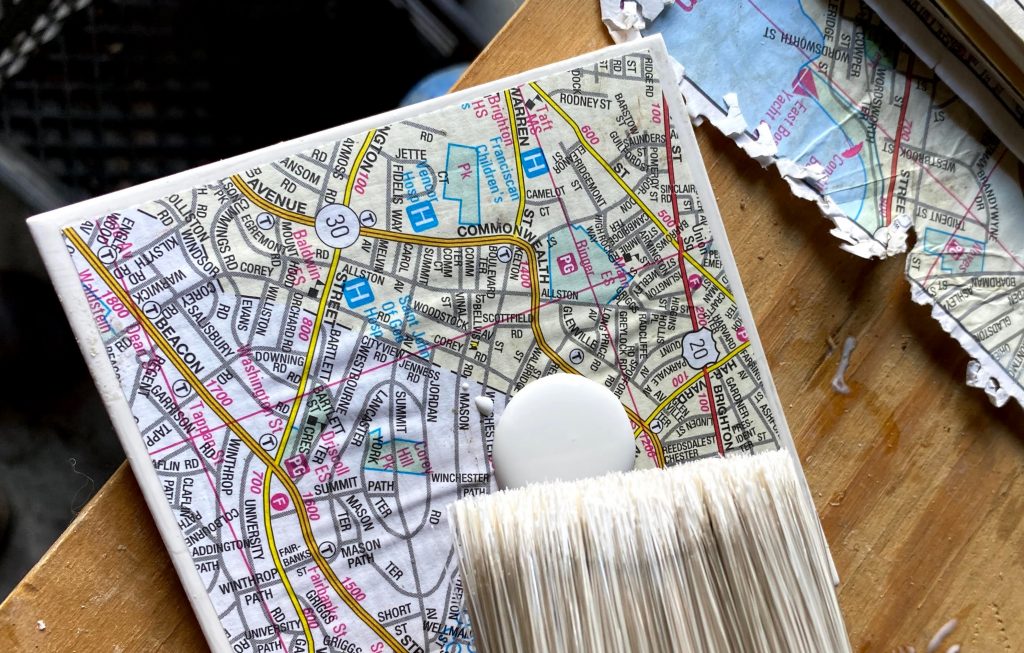
Brush on a little bit of Mod Podge (which, if you’re unfamiliar, is a super handy water-based glue and clear-drying sealant) onto the tile.
As you’ll see in the photo, I went a little overboard my first time doing this — it’s better to brush on a thin, even coat so the map/photo you’re using doesn’t get wrinkly.
Then position your map or other scrap on top and flatten it out, being careful not to rip the paper if it absorbs some of the adhesive.
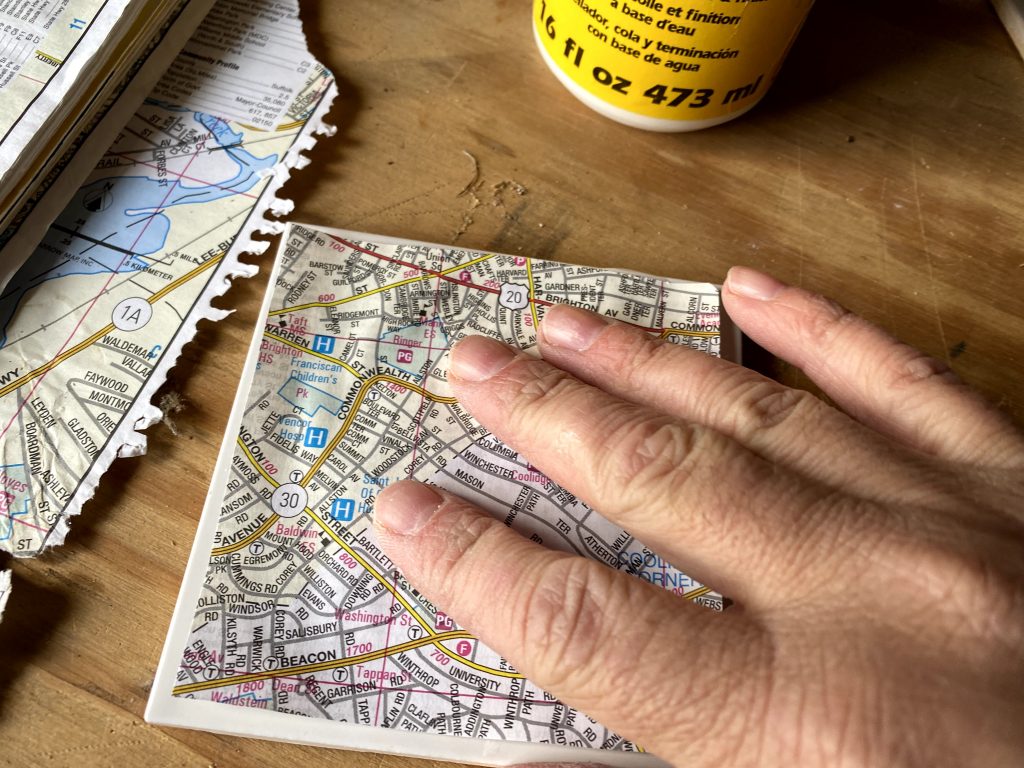
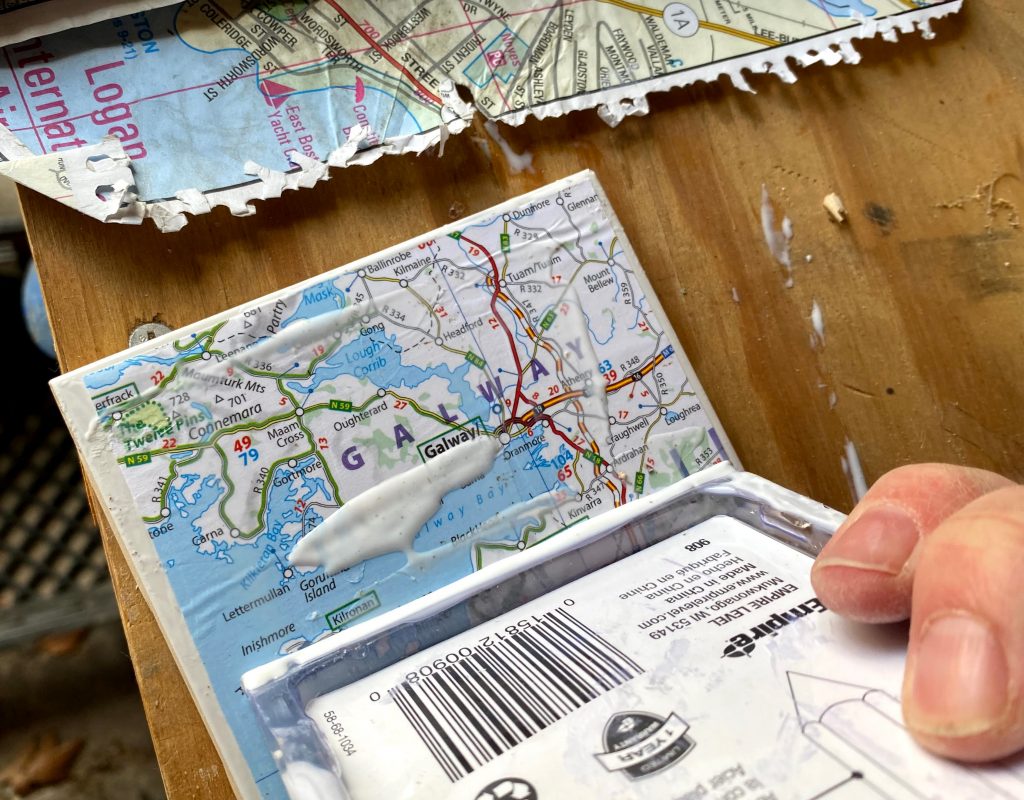
Step 3: Press flat.
Squeeze out any wrinkles and excess Mod Podge, and wipe the edges with a damp cloth (or your fingers — it’ll wash off). Any flexible straight edge is handy for this; I used the flat, plastic packaging that a tool came in, just because it was nearby. If you only use a thin coat, there may not be any excess to bother with.
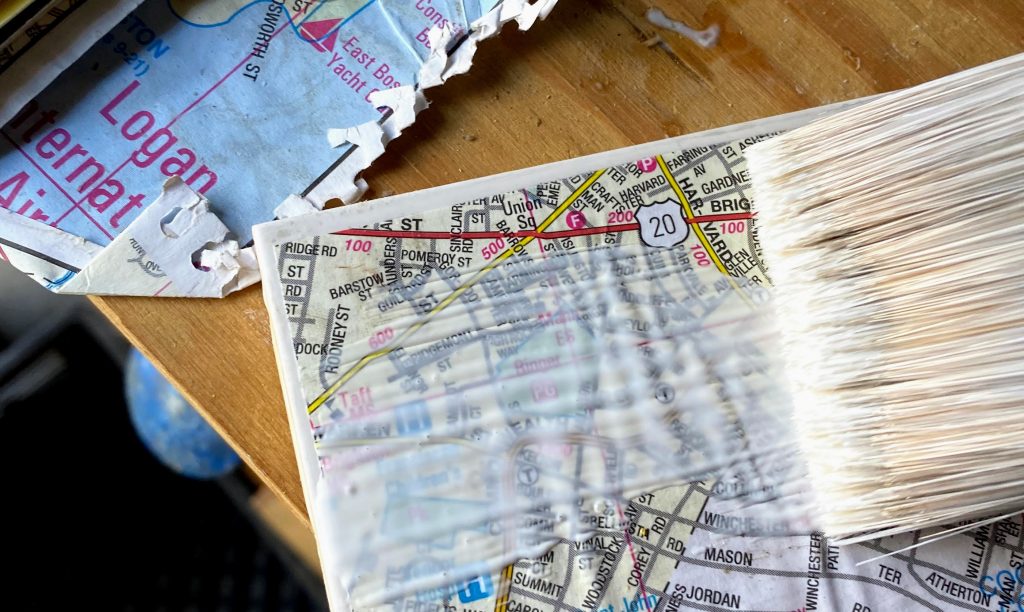
Step 4: Coat the top with Mod Podge.
Now it’s time to make use of Mod Podge’s clear- and fast-drying sealant properties. Use a paint brush to coat the entire surface of your map or artwork with a thin layer of Mod Podge. It goes on a hazy white, but don’t worry, it dries perfectly clear.
(You’ll notice this particular coaster still had some wrinkles I couldn’t flatten out. The good news is, after enough coats of Mod Podge, you end up with a level surface.)
5. Let dry and repeat.
After each thin coat of Mod Podge, let the tile dry for about 15-20 minutes while you work on the next one, and the next one, and so on. Basically, you can create something of an assembly line, since the first one ought to be almost dry by the time you’ve applied a coat to the other three. You want to apply 3-4 coats or more to each to make them durable.
Step 6: Apply waterproof sealer
Mod Podge creates a pretty durable, clear finish, but standing water can create cloudiness on the finish. And since coasters by definition sometimes end up with sweaty, wet drinks on them for long periods of time, it’s a good idea to spray the tops with a final coat of clear, waterproof acrylic sealant.
If you don’t have that handy (I didn’t), brush them with a layer or two of polyurethane for water protection.
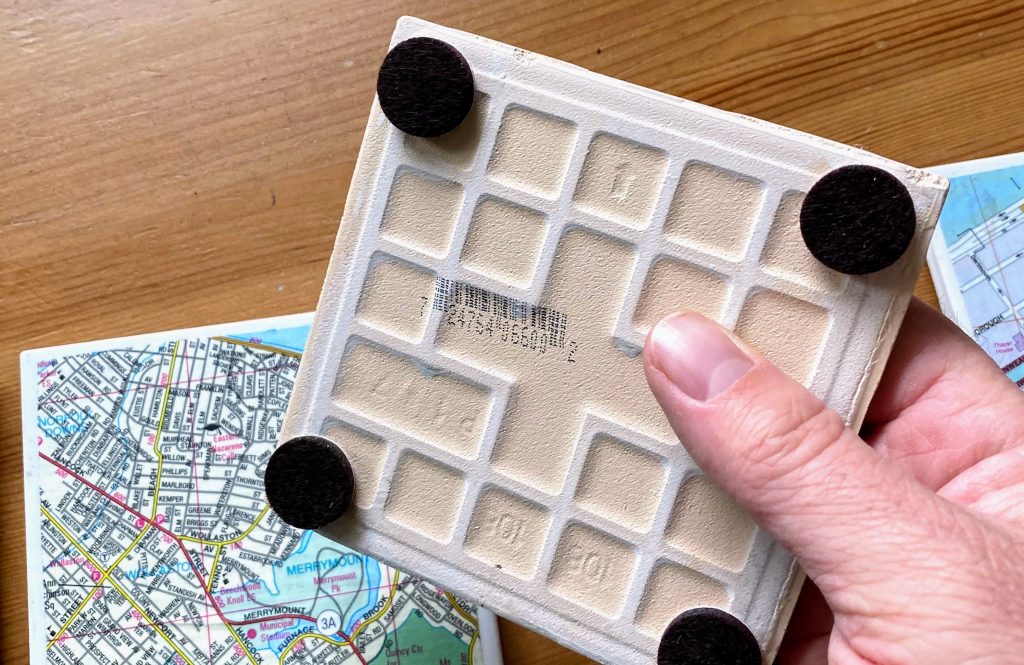
Step 7: Stick furniture pads on the bottom.
The final step is the easiest of all. Stick some self-adhesive felt furniture pads to the underside of each tile so they don’t scratch your coffee table. If they don’t seem sticky enough to hold, you can always add a dab of Gorilla Glue for a more permanent bond.
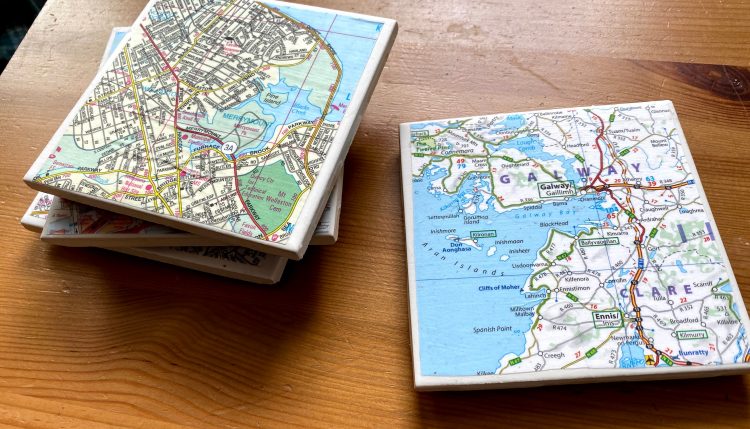
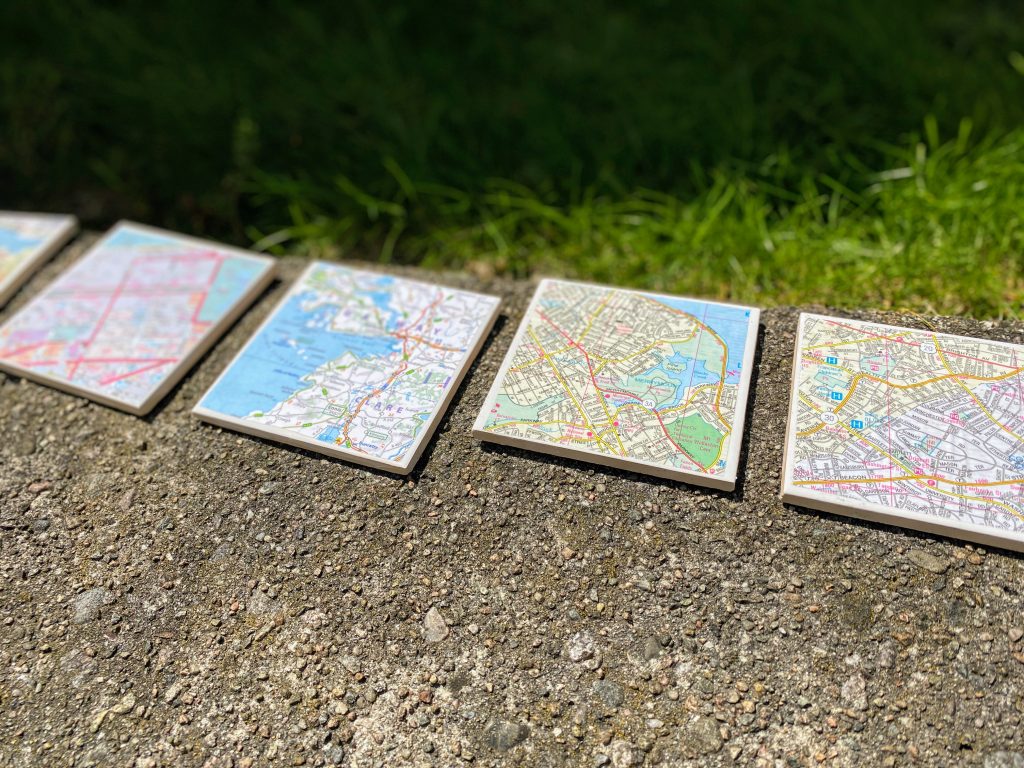
And you’re done! Stack them in a set and bundle them with twine or yarn for a gift-shop worthy presentation.

Related posts:
Jon Gorey • June 6, 2020