
Playgrounds officially re-opened this week, but ours was a little crowded and crazy for our liking, so we're still spending a lot more time in our yard. After installing monkey…
Backyard monkey bars: Stay-at-home summer, part 1
Greetings from quarantine! Hoo boy. Crazy times, eh? I hope you and yours are keeping safe and keeping your distance (although it’s still nice to holler hellos at your neighbors from the porch).
When the weather turns nice like this after being cooped up all winter, we’re usually at the playground every day after school, for hours and hours. But it looks like we’re going to be spending a lot more time in our own backyard this spring — and maybe this summer, too — with schools and parks closed until at least May.
And I’ll be honest, we have NOT paid much attention to that little piece of paradise purgatory the past few years. We’re on the top floor of a double-decker, so the backyard just feels… far away! However, that makes it almost a field trip in the age of coronavirus confinement.
So, we’ve decided this will be the Summer of the Backyard. We’re all stuck at home for the foreseeable future, and still need some outdoor time, so we’re sprucing up our drab backyard. The first step? Installing monkey rings, OBVIOUSLY.
Backyard monkey bars
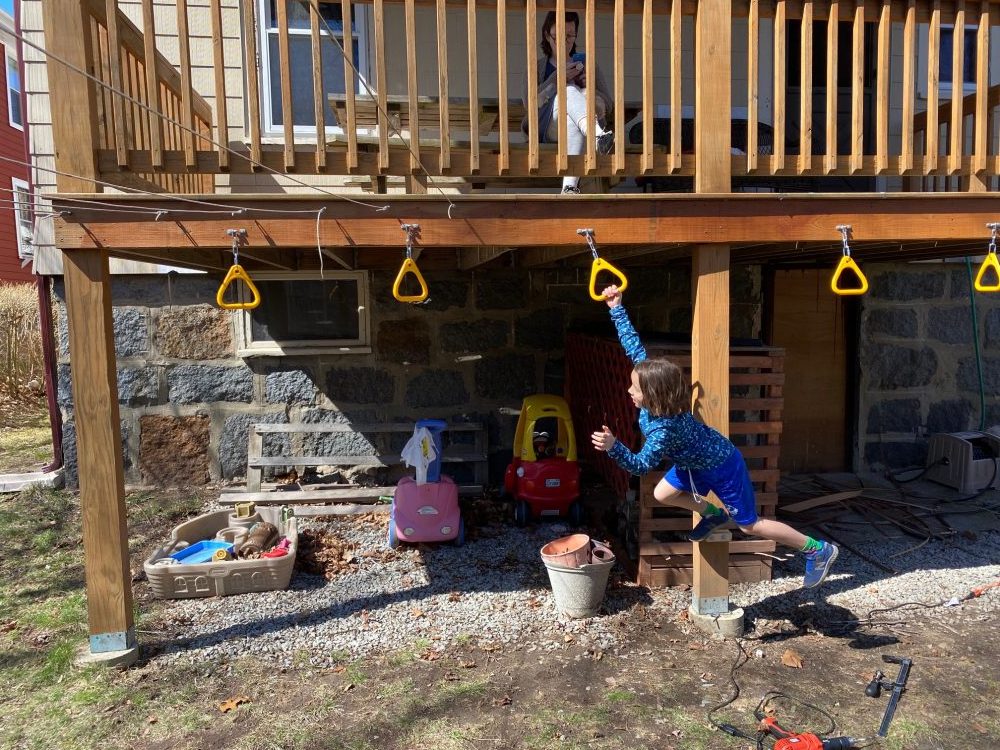
Ok, maybe that’s not obvious at all. Here’s the deal: Our now-off-limits playground down the street is beautiful, like only a year old. But my daughter’s biggest gripe with the new park was that they took out the monkey bars. Blasphemy! And when we looked at our backyard space, we don’t have a whole lot to work with… but we do have a pretty high and sturdy deck. Just the right height, in fact, to hang some monkey rings for an eight-year-old.
After some shopping around, I ordered this six-piece Playstar monkey ring kit, with chains and heavy duty hardware (all made in the USA, impressively!), and it was a cinch to install. You can buy the set off Amazon or get it directly from the company.
Installation was pretty easy — you’ll just need a drill with a 1/4-inch bit to drill the pilot holes, a tape measure to make sure they’re evenly spaced, and a 7/16″ (or adjustable) wrench.
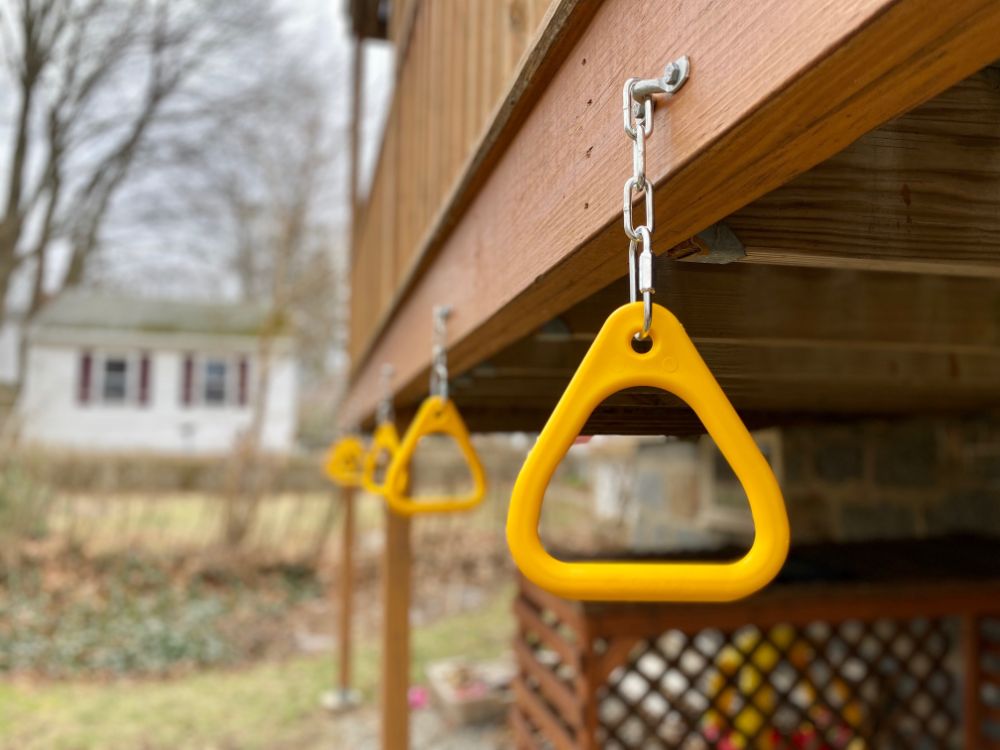
I had first envisioned hanging the monkey rings under the main deck beam, but since they dangle down about 4 inches, that only left about an inch between the ground and my daughter’s flailing feet, so I decided to hang them off the side of that beam to gain another couple of inches (and hopefully a couple more years of usefulness).
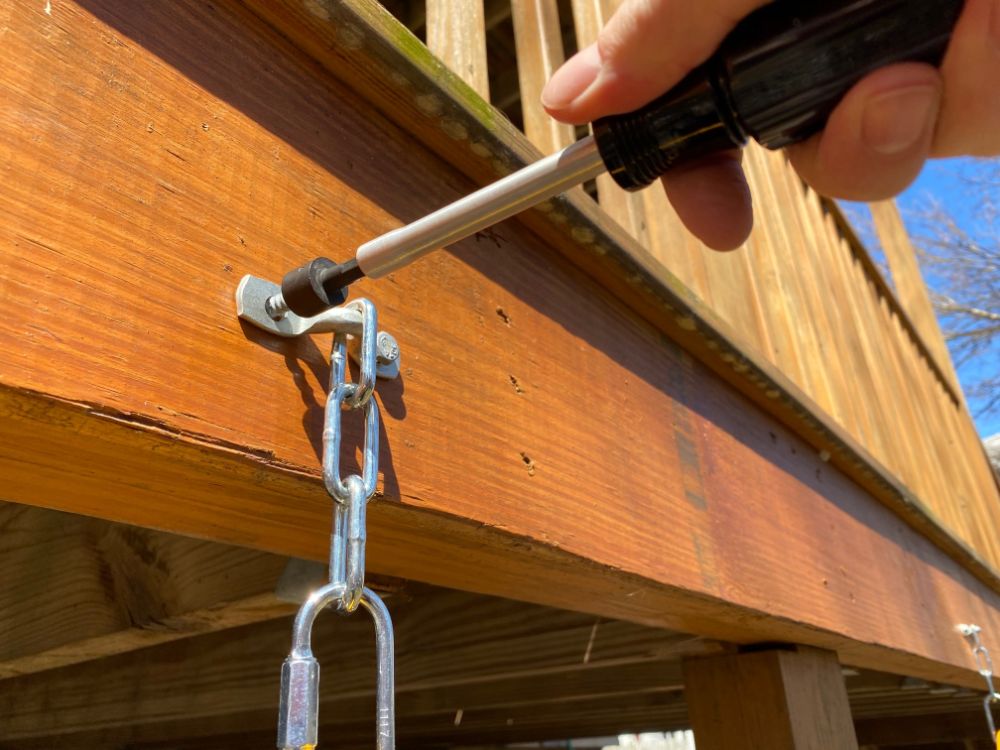
All it took was drilling a pair of 1/4-inch pilot holes per ring, threading the chain in place, and then screwing in the bolts:
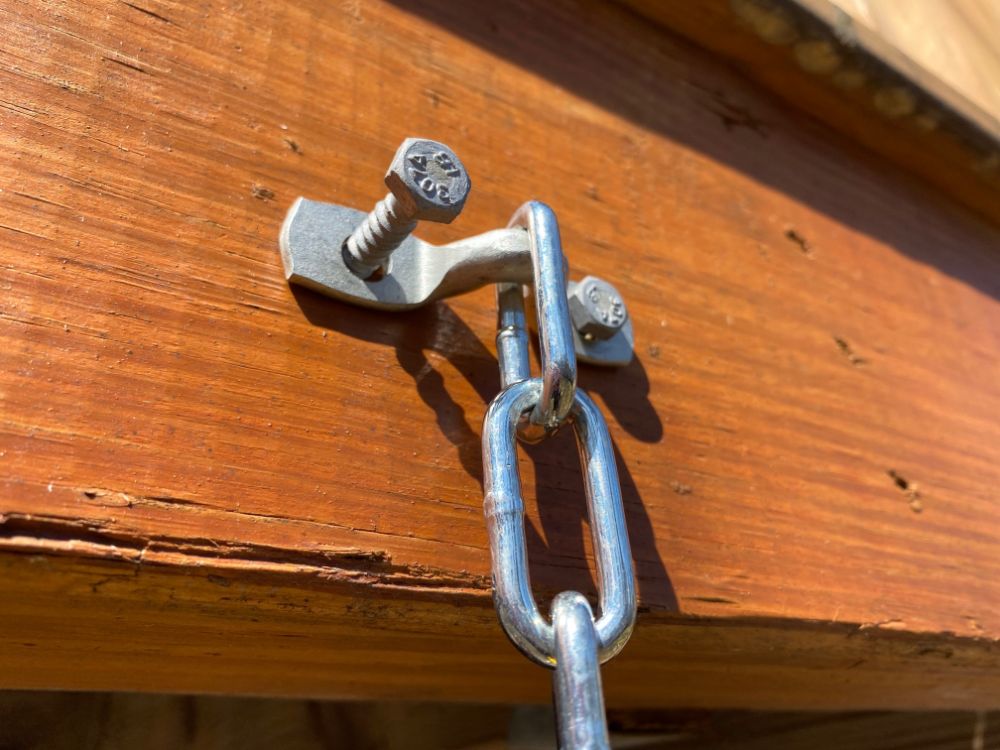
Ah, but not with an ordinary screwdriver. These suckers are heavy duty, and require a wrench— ideally, a 7/16″ one, whether it’s a ratcheting socket wrench, a nut driver bit for your drill, or a handheld version in the shape of a screwdriver like this one:
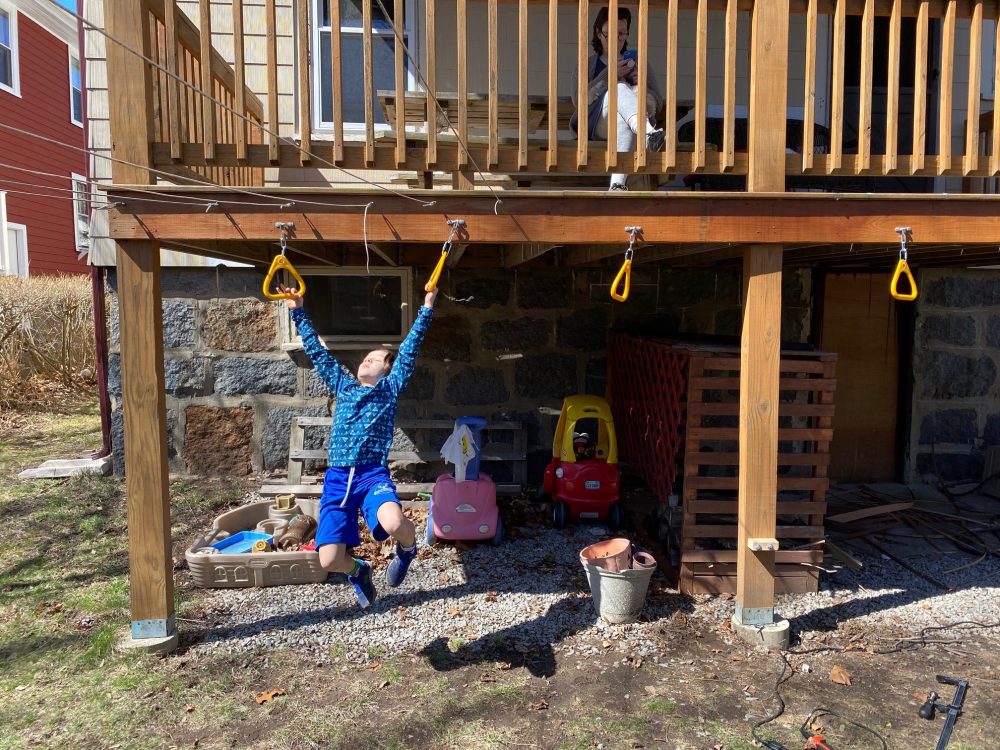
Then just repeat that 5 times — it only took about half an hour. I placed them about 27 inches apart, which makes them a little bit more challenging for our daughter (and allowed us to stretch them from one end of the deck to the other).
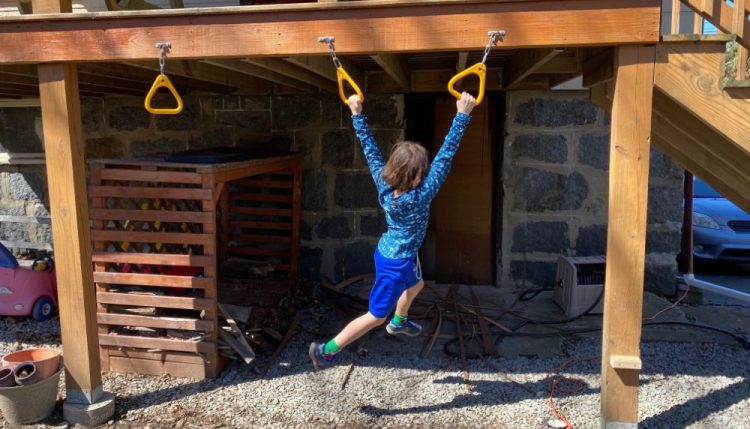
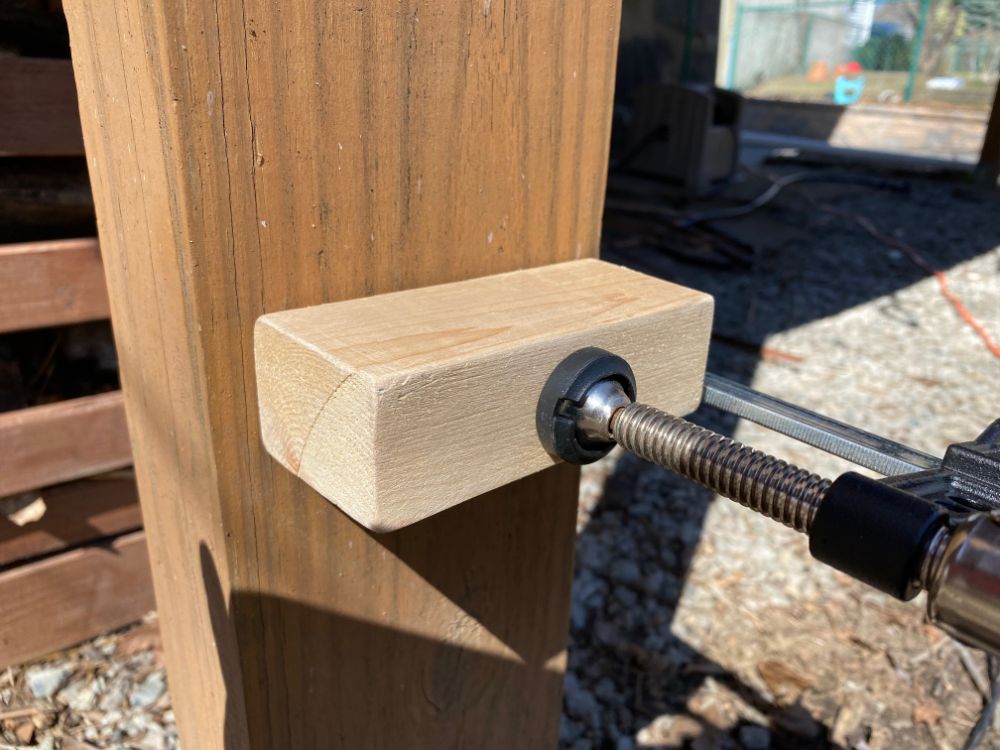
Of course, ordinarily kids start their monkey bar run from some kind of platform, so we installed a couple of wooden blocks the girl can climb onto to get going — and to take a break at the halfway post.
For now, I just cut a scrap of 2×4 and sanded the hell out of it, although we’ll want to stain or paint it before long. We clamped it in place a little more than a foot off the ground, and then drilled pilot holes:
For the first one, I used two monster 4-inch screws I found in the garage. Those were the only ones I found, though. So for the second one, I tried some of the longer 9/16″ bolts that came with the monkey ring kit — these are included in the kit, just in case you’re you’re building an entire swing set from scratch. (In fact, the first 16 steps of the 17-step instructions are about erecting an entire monkey bar frame out of 2x4s, and then the final step — the one that concerns us — is just “screw in the monkey rings.”)
Genny helped with the wrench on this part, which means Dad gave a lecture on the miracle of leverage: 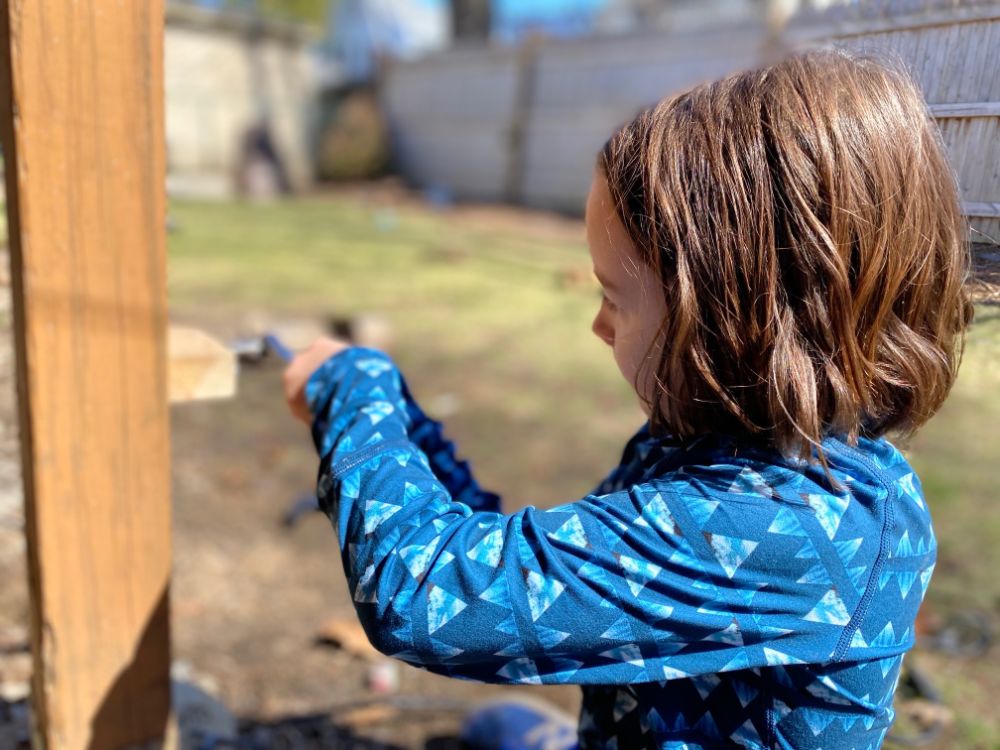
And voila!
Next up: Building a backyard climbing wall
We’ve got lots of plans for the backyard, including a renewed commitment to gardening, planting some native ground cover plants, and clearing out all that crap under the deck.
But our next project is probably going to be a climbing wall that goes up to the top of the deck railing. (What can I say, our kid loves American Ninja Warrior.) I’m trying to decide if I should:
- test out the stone-cutting drill bit I got for Christmas last year and create real stone climbing holds (like these);
- use DIY wooden blocks for the holds, which I’d want to shape somehow and then sand like crazy;
- or bite the bullet and buy some plastic ones or the real deal holds they have in rock gyms.
Will let you know how it goes. Til then, stay safe, and stay sane!
Related posts:
Jon Gorey • March 28, 2020